How to Create a Media Kit: A Step-by-Step Guide for Bloggers, Content Creators & Influencers (+ Free Template)

I’m going to be honest: despite consistent blogging and brand interest (though mostly from AI companies), this blog does not have a media kit. Which is bad. Embarrassing, even. Because media kits are very important in the blogging space. It’s probably one of the first things you should prepare for marketing and partnerships.
The reason I haven’t done it up until this point is because until this year, I haven’t blogged regularly. And, as you know, when it comes to blogging, it’s more important to start than fuss over branding. You can do that stuff later.
However, if you’re new to blogging, content creation, or influencing, and you find that you have some time, go for it. So, in today’s blog, we’re going to learn how to create a media kit. I’m actually working on ATITW’s media kit as I write this. You can also do the same. Let’s begin.
What is a Media Kit?
As its name suggests, a media kit is basically a collection of promotional materials, providing important information about your brand. Think of it as your brand’s resume. It can be a document, a slideshow or even a webpage.
Side Note: I’m currently redesigning the ATITW website and I’m thinking about creating a media kit page, maybe meshing my portfolio with it too. Not sure yet. But I’ll definitely write a blog about it if I do.What a Media Kit Actually Does
The purpose of a media kit is to provide a concise and professional snapshot of your brand, telling potential sponsors and collaborators exactly what it is, and most importantly, why you’re worth their time and investment. I tend to catch up with the marketing department at work once or twice a month, and let me let you in on a little secret: teams with a big marketing budget, don’t work with content creators and influencers without a media kit.
Our marketing department spends north of $150,000 a month on content creators. In fact, we recently had to make some product changes to accommodate a Korean influencer we just signed. Wanna know their take home?
$50,000 a quarter + 4% commission on each sale. That’s what one influencer on our radar is earning—because their media kit was airtight.
Yes, I know. There’s a lot of money on the table. So, if you’re serious about making this your full-time job, start with a media kit.
Important: Don’t Confuse Media Kits with Press Kits
Media kits (sometimes called social media kits) often get confused with press kits. And while this isn’t a big deal (it just means that the person you’re dealing with is probably new to the field), it’s good to know the difference between the two.
- A press kit is typically a subset of a media kit, specifically targeting journalists to secure press coverage and assist with reporting. Its goal is to sell a positive story.
- A media kit, on the other hand, serves a much broader purpose. It targets potential sponsors and strategic partners, focusing on selling your brand and its longevity.
When you send a media kit, you want the recipients to invest in you, not just the business.
Who Needs a Media Kit?
If you are looking to monetize your reach, you need one. Media kits are essential for bloggers, influencers, small businesses, startups, artists, and event planners—basically anyone looking to professionally present their brand, showcase achievements, and attract opportunities.
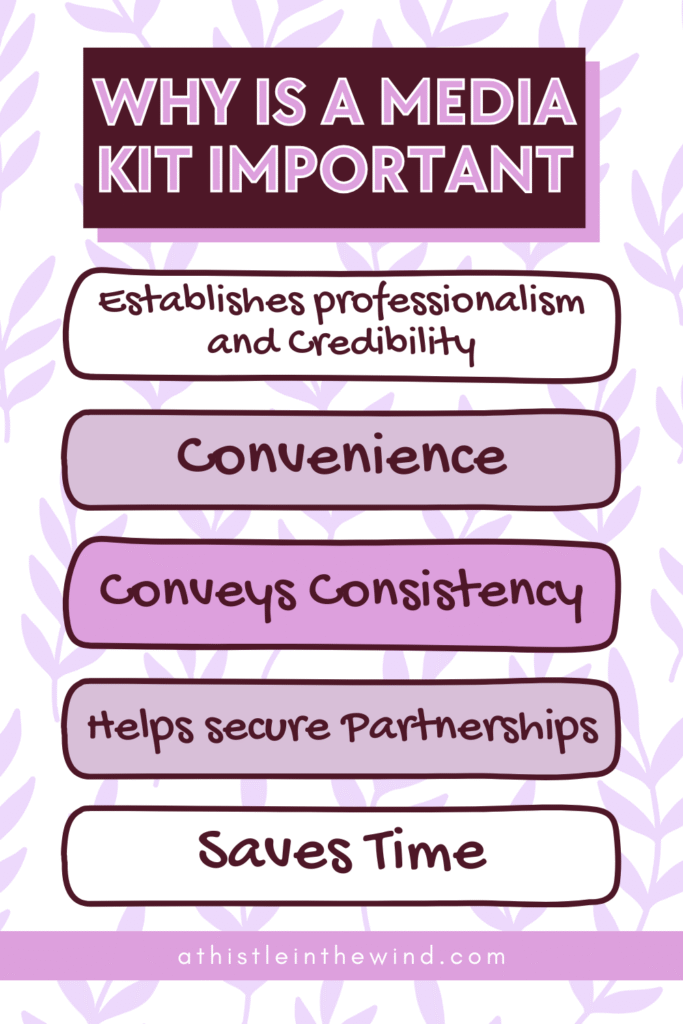
Why Is it Important?
- Professionalism and Credibility: A well-designed media kit immediately raises your brand’s credibility and readiness to engage.
- Convenience: It stores all necessary information, from contact details to audience metrics, in one convenient package. No one needs to go digging for details.
- Consistency: It ensures that the information shared about you across various platforms is consistent, which is crucial for maintaining your brand identity and message.
- Securing Partnerships: It provides sponsors with the crucial data (reach, demographics, engagement metrics) they need to justify investing in you.
- Saves Time: You can just send it instead of typing the same pitch over and over.

What to Include in a Media Kit: A Step-by-Step Guide
Now, media kits come in all shapes and sizes. It really just depends on your brand. But every great media kit has certain non-negotiable elements. To create a professional media kit, you think like a sponsor and figure out what data they’d need to be convinced to work with you.
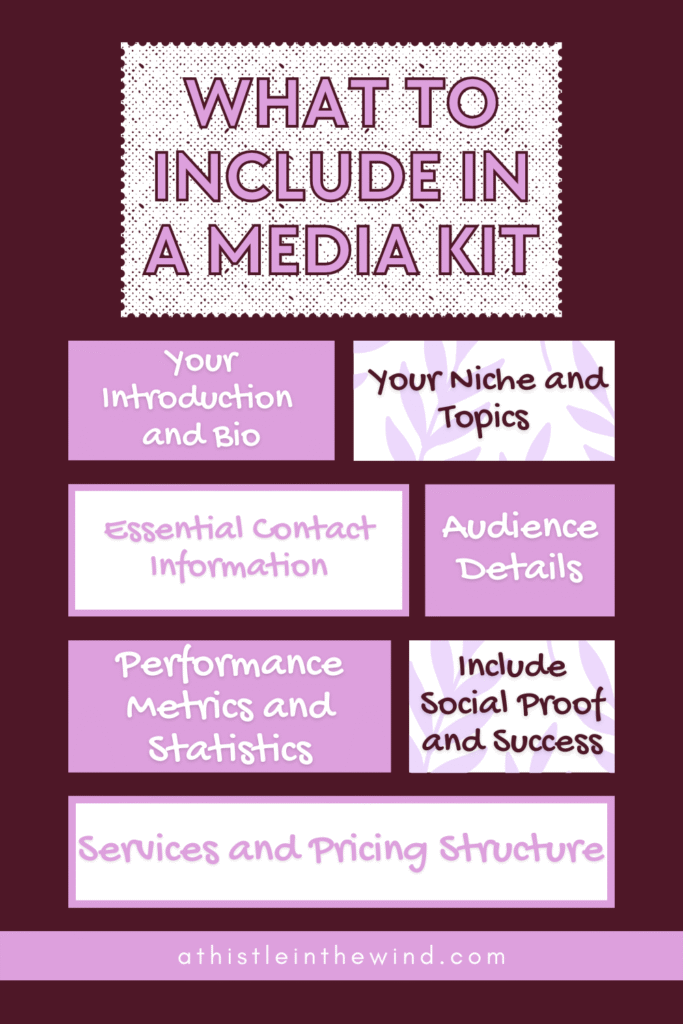
Here’s what you should include in a media kit:
1. Your Introduction and Bio
This is where you make that crucial first impression. Start with a brief but compelling overview that captures the essence of your brand. Tell sponsors who you are 3–4 lines. Keep it sharp, but personal. Include:
- Your Brand Story: Share a brief history and mission. This helps partners understand your background and values.
- Mission Statement: Your mission gives your organization purpose.
- The Basics: Include your blog or company name, logo, and a short tagline that sums up what you do (e.g., “Crafts, Home, Decor, Recipes” or “Helping you succeed through online marketing”).
- The Human Element: Introduce yourself! Even if the partnership is with your blog, the relationship is ultimately between people. If you are the face of your brand, an engaging, high-quality headshot next to your introduction adds authenticity.
2. Clearly Define Your Niche and Topics
Aside from your personal bio, clearly state what your content is about and who it is for. Think: what is your niche, and which topics do you cover? This information ensures that the brand knows immediately if their product or service aligns with your content focus.
3. Essential Contact Information
This might seem obvious, but it is critical! Make sure your contact details are easily found. Provide an email address, phone number, and links to your website and relevant social media profiles. If you have a designated team member handling PR, provide their specific contact information, and avoid sending recipients to generic inboxes.
4. Audience Demographics (This is The Money Maker btw)
This is one of the most important sections. Sponsors need to know if your audience is their audience. Provide detailed audience demographics to prove that you’re the right person for the job. Include stats such as:
- Age ranges, gender split, and income levels.
- Geographic locations (e.g., “70% US & Canada”).
- Top interests (e.g., wellness, skincare, travel).
Be selective: gender data isn’t meaningful to a tech audience, so leave it out. Only provide the statistics that you think your potential partners would be most interested in. Google Analytics is a great tool for pulling this data.
5. Performance Metrics and Statistics
Having the right audience doesn’t matter if you can’t reach them. Highlighting key metrics is a must. Include:
- Website Metrics: Monthly average page views and monthly average unique visitors. You can pull “Users” and “Pageviews” from Google Analytics for a specific 30-day period.
- Social Metrics: Follower count, average engagement rates, impressions, saves, shares, and average link clicks.
- Total Audience: If you have an impressive email list, highlight subscriber numbers.
Pro Tip: Focus on your strengths. If you have decent newsletter subscribers but weak social media numbers on Facebook, highlight the subscriber count and perhaps skip the less impressive social platforms.6. Include Social Proof and Success
When you have proof that partnering with you leads to results, it’s a huge win. Don’t be shy: highlight awards, recognitions, and significant milestones.
- Previous Collaborations: Mention major brands or influencers you’ve worked with, showcasing logos.
- Results: Include brief case studies or short quotes mentioning metrics from past campaigns (e.g., “+300 sales for LTK collab” or “+120K reach with Sephora UGC series”).
- Testimonials: Short, clear customer testimonials, case studies, or reviews show the effectiveness of your brand. Writers and journalists love using short quotes in their articles.
If you’re new, you can include testimonials from a one-off promotional post or provide metrics and screenshots from your top recent content.
7. Services and Pricing Structure
Clearly outline what you offer. As a blogger, options often include sponsored blog posts, YouTube videos, Instagram Reels, ad placements, product photography, UGC packages, and mention-only packages (e.g., in a newsletter or social media platform).
On the Question of Pricing
Adding pricing to your media kit might feel awkward at first, especially if you’re new, but this is standard business practice. Including it can filter out unserious brands. If you do include pricing, add a note that rates may vary depending on the scope and deliverables.
It is highly recommended that you adjust the services and pricing information for each potential sponsor. For instance, a small, local company will likely have a different budget than a huge, international one. Tailor your rates to the brand’s size, reach, and expectations. One size never fits all.

How to Design a Media Kit: A Step-by-Step Guide (+ Free Template to Get You Started)
Once you’ve gathered the information you need, focus on how you present your media kit. This makes a huge difference. Here’s how you can do it:
1. Follow Design Principles
Your media kit should be tailor-made to your brand. This means:
- Visual Consistency: Utilize your unique brand’s look and feel. Implement your color palette and typography consistently throughout the kit.
- High-Quality Visuals: Use professional photos and graphics that represent your brand well. Adding visuals helps grab attention and breaks up large chunks of text, making the kit easier to read.
- Readability: Use a clean, uncluttered layout with plenty of white space. Choose clean, legible fonts at a minimum of 12px.
- Conciseness: Keep the content concise and to the point; you don’t want to overwhelm your audience with too much data.
- Length: While some choose a single page for quick scanning, most media kits are typically between 2 and 8 pages.
2. Choose the Right Format
Your media kit can take several forms, depending on your needs. It can be:
- PDF Document: This is the traditional format. It’s ideal because it limits quality loss and ensures everything stays in place regardless of the device it’s viewed on. It’s easy to email.
- Online Interactive Flipbook: If you want something new and engaging, convert your PDF into an interactive flipbook. Tools allow you to embed videos, add image galleries, and link to additional resources, creating an immersive experience while saving space on the page. This helps you stand out.
- Live Link / Webpage: Many people are now moving toward live links (or dedicated press pages). Interactive kits are mobile-friendly and responsive, update dynamically in real-time, and can include built-in analytics. They are easier to share via email or direct messages.
- Downloadable Assets: If you have many high-resolution photos, videos, and logos, you might simply organize them in a shared folder like Google Drive, making it easy for people to access and share the assets about your brand.
Pro tip: If you use a webpage, set up a vanity URL like yoursite.com/mediakit so you can drop it into pitches easily.Tools to Get Started
You don’t have to hire an agency to create a stunning kit. You can design your media kit from scratch or customize ready templates. Many people use Canva, Adobe Photoshop, or InDesign.
If you’re not comfortable with designing, you can download this free media kit template I made on Canva:
Note: This automatically adds you to my mailing list. I don’t send emails often—just once a week.
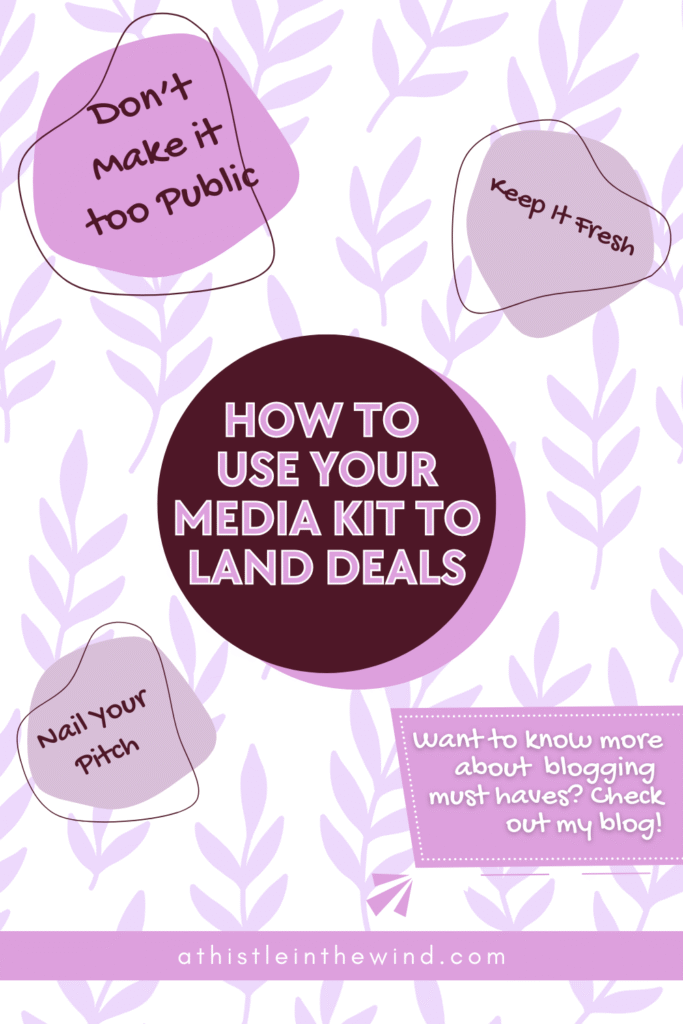
How to Use Your Media Kit to Land Deals
Now that you have your media kit ready, here’s how you can share it strategically to open doors.
1. Don’t Make it too Publicly Available (Especially Pricing!)
Don’t make your media kit publicly downloadable for anyone to grab. If you make it public, you risk boxing yourself into a single pricing structure. Big brands might lowball you, while small brands might assume you’re out of reach.
Instead, make the kit available via request only. Create a dedicated “Sponsor” page on your website (and include it in your main navigation) where you mention you are open to collaborations, and encourage brands to email you for a media kit.
Even if you go down the webpage road, don’t include the price. This allows you to vet the company first and customize your offers and rates accordingly.
2. Nail Your Pitch
Your media kit helps, but your pitch is what opens the door.
- Personalize Everything: Avoid generic templates. Mention the brand name, reference a specific current campaign they are running, and explain exactly why your audience is a good fit.
- Give Options: Always provide multiple collaboration options so they start thinking about which option they like better, rather than weighing whether to work with you at all.
- Include a Plain Text Summary: When you send the kit via email, summarize the key points and offers in the email body itself. Some people prefer not to open attachments.
- Use a Live Link: If you have an interactive kit, link it in your email signature, put it in your Link in Bio, and use it in DMs or outreach. Remember, linking is usually better than attaching big files.
- Don’t Forget the Call-to-Action (CTA): End your media kit and your pitch with a strong call-to-action. Encourage potential partners to reach out or schedule a meeting. Something like “Let’s collaborate!” or “Book a quick call here,” makes it more vivid.
- Follow Up: Brands are busy! If you don’t hear back, follow up in 3–5 business days.
3. Keep It Fresh
A great media kit is not a “set it and forget it” document. Update your media kit every couple of months, or any time something important changes significantly—like a spike in followers, a new major brand partnership, or a change in your services. A fresh kit shows that you are active, growing, and always ready for new deals. An outdated kit gives “abandoned blog” energy. Don’t let that be you.

Send Out Your Media Kit!
So, once you’ve got your media kit ready, it’s time to actually put it to work. Make sure you do your research before reaching out to brands. If you’re not sure about who you should reach out to, you can check my blog: How to Choose the Right Affiliate for Your Blog.
You can apply the same principles described in that blog for this too. You can apply the same principles there to build your sponsor list too. Then, once your list is ready…hit send!
As usual, leave a comment down below and let me know what you think. And don’t forget to subscribe to my newsletter for more practical blogging tips!

One Comment
Zaina B.
Thanks for the template!